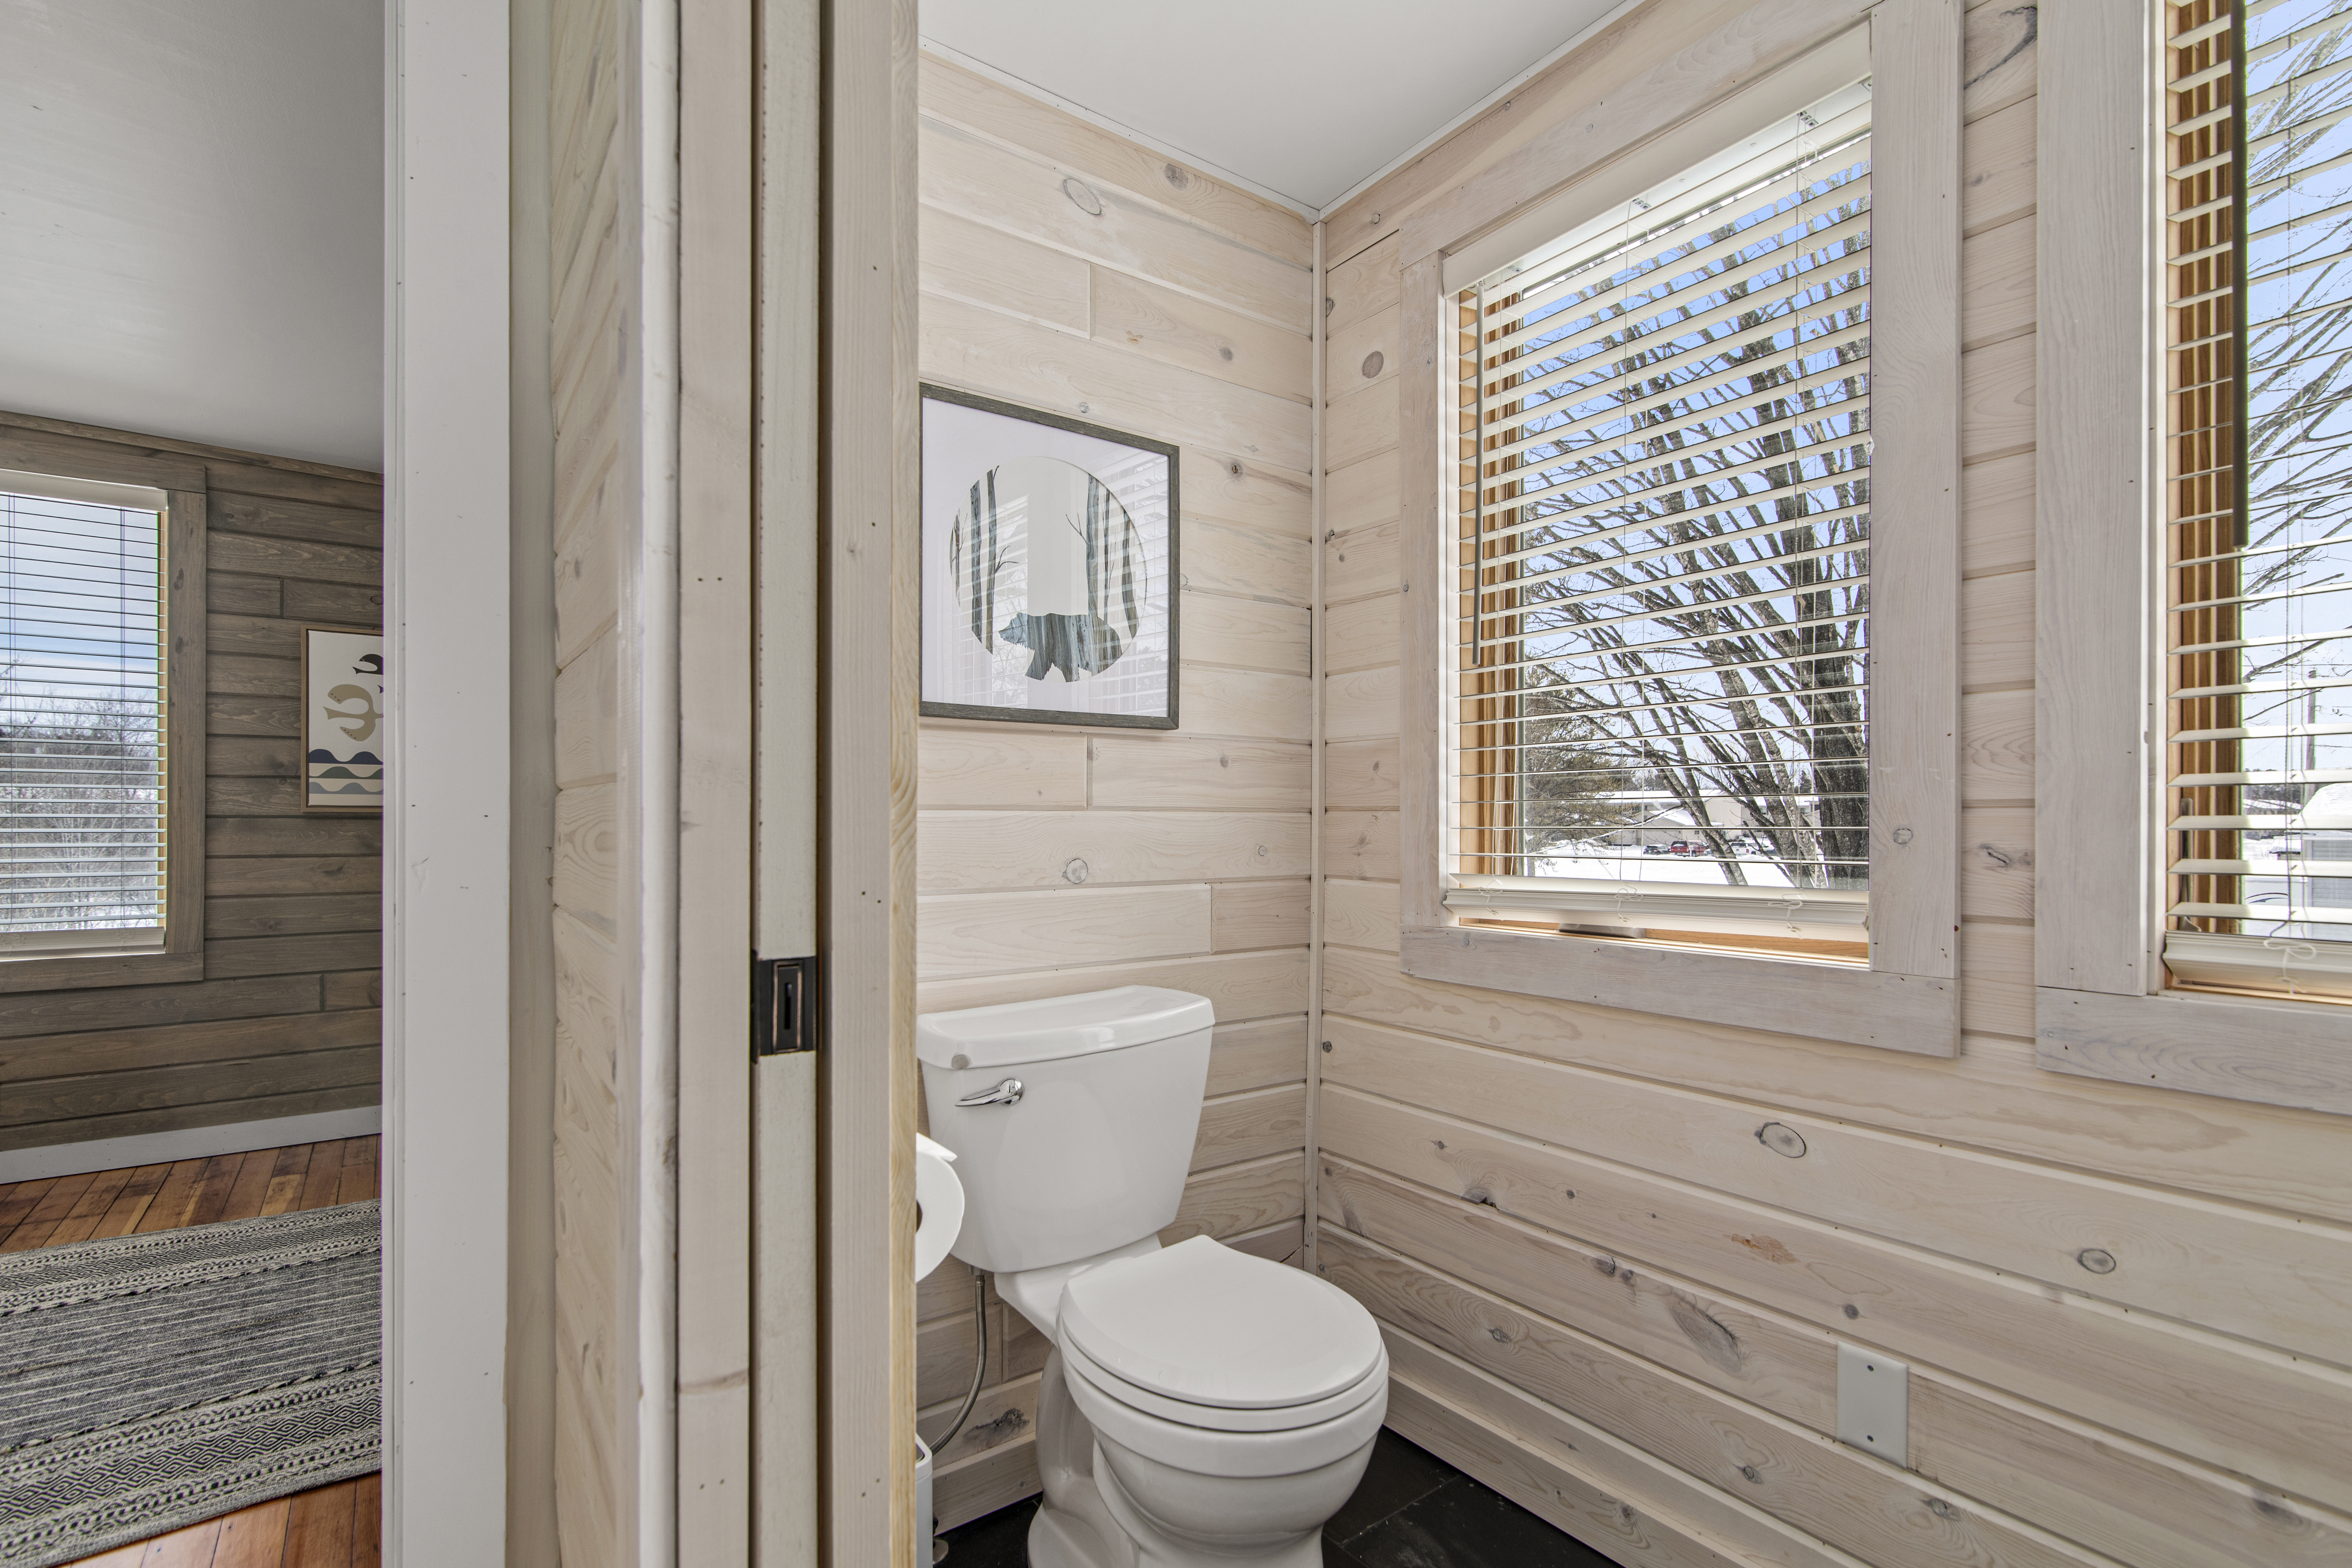
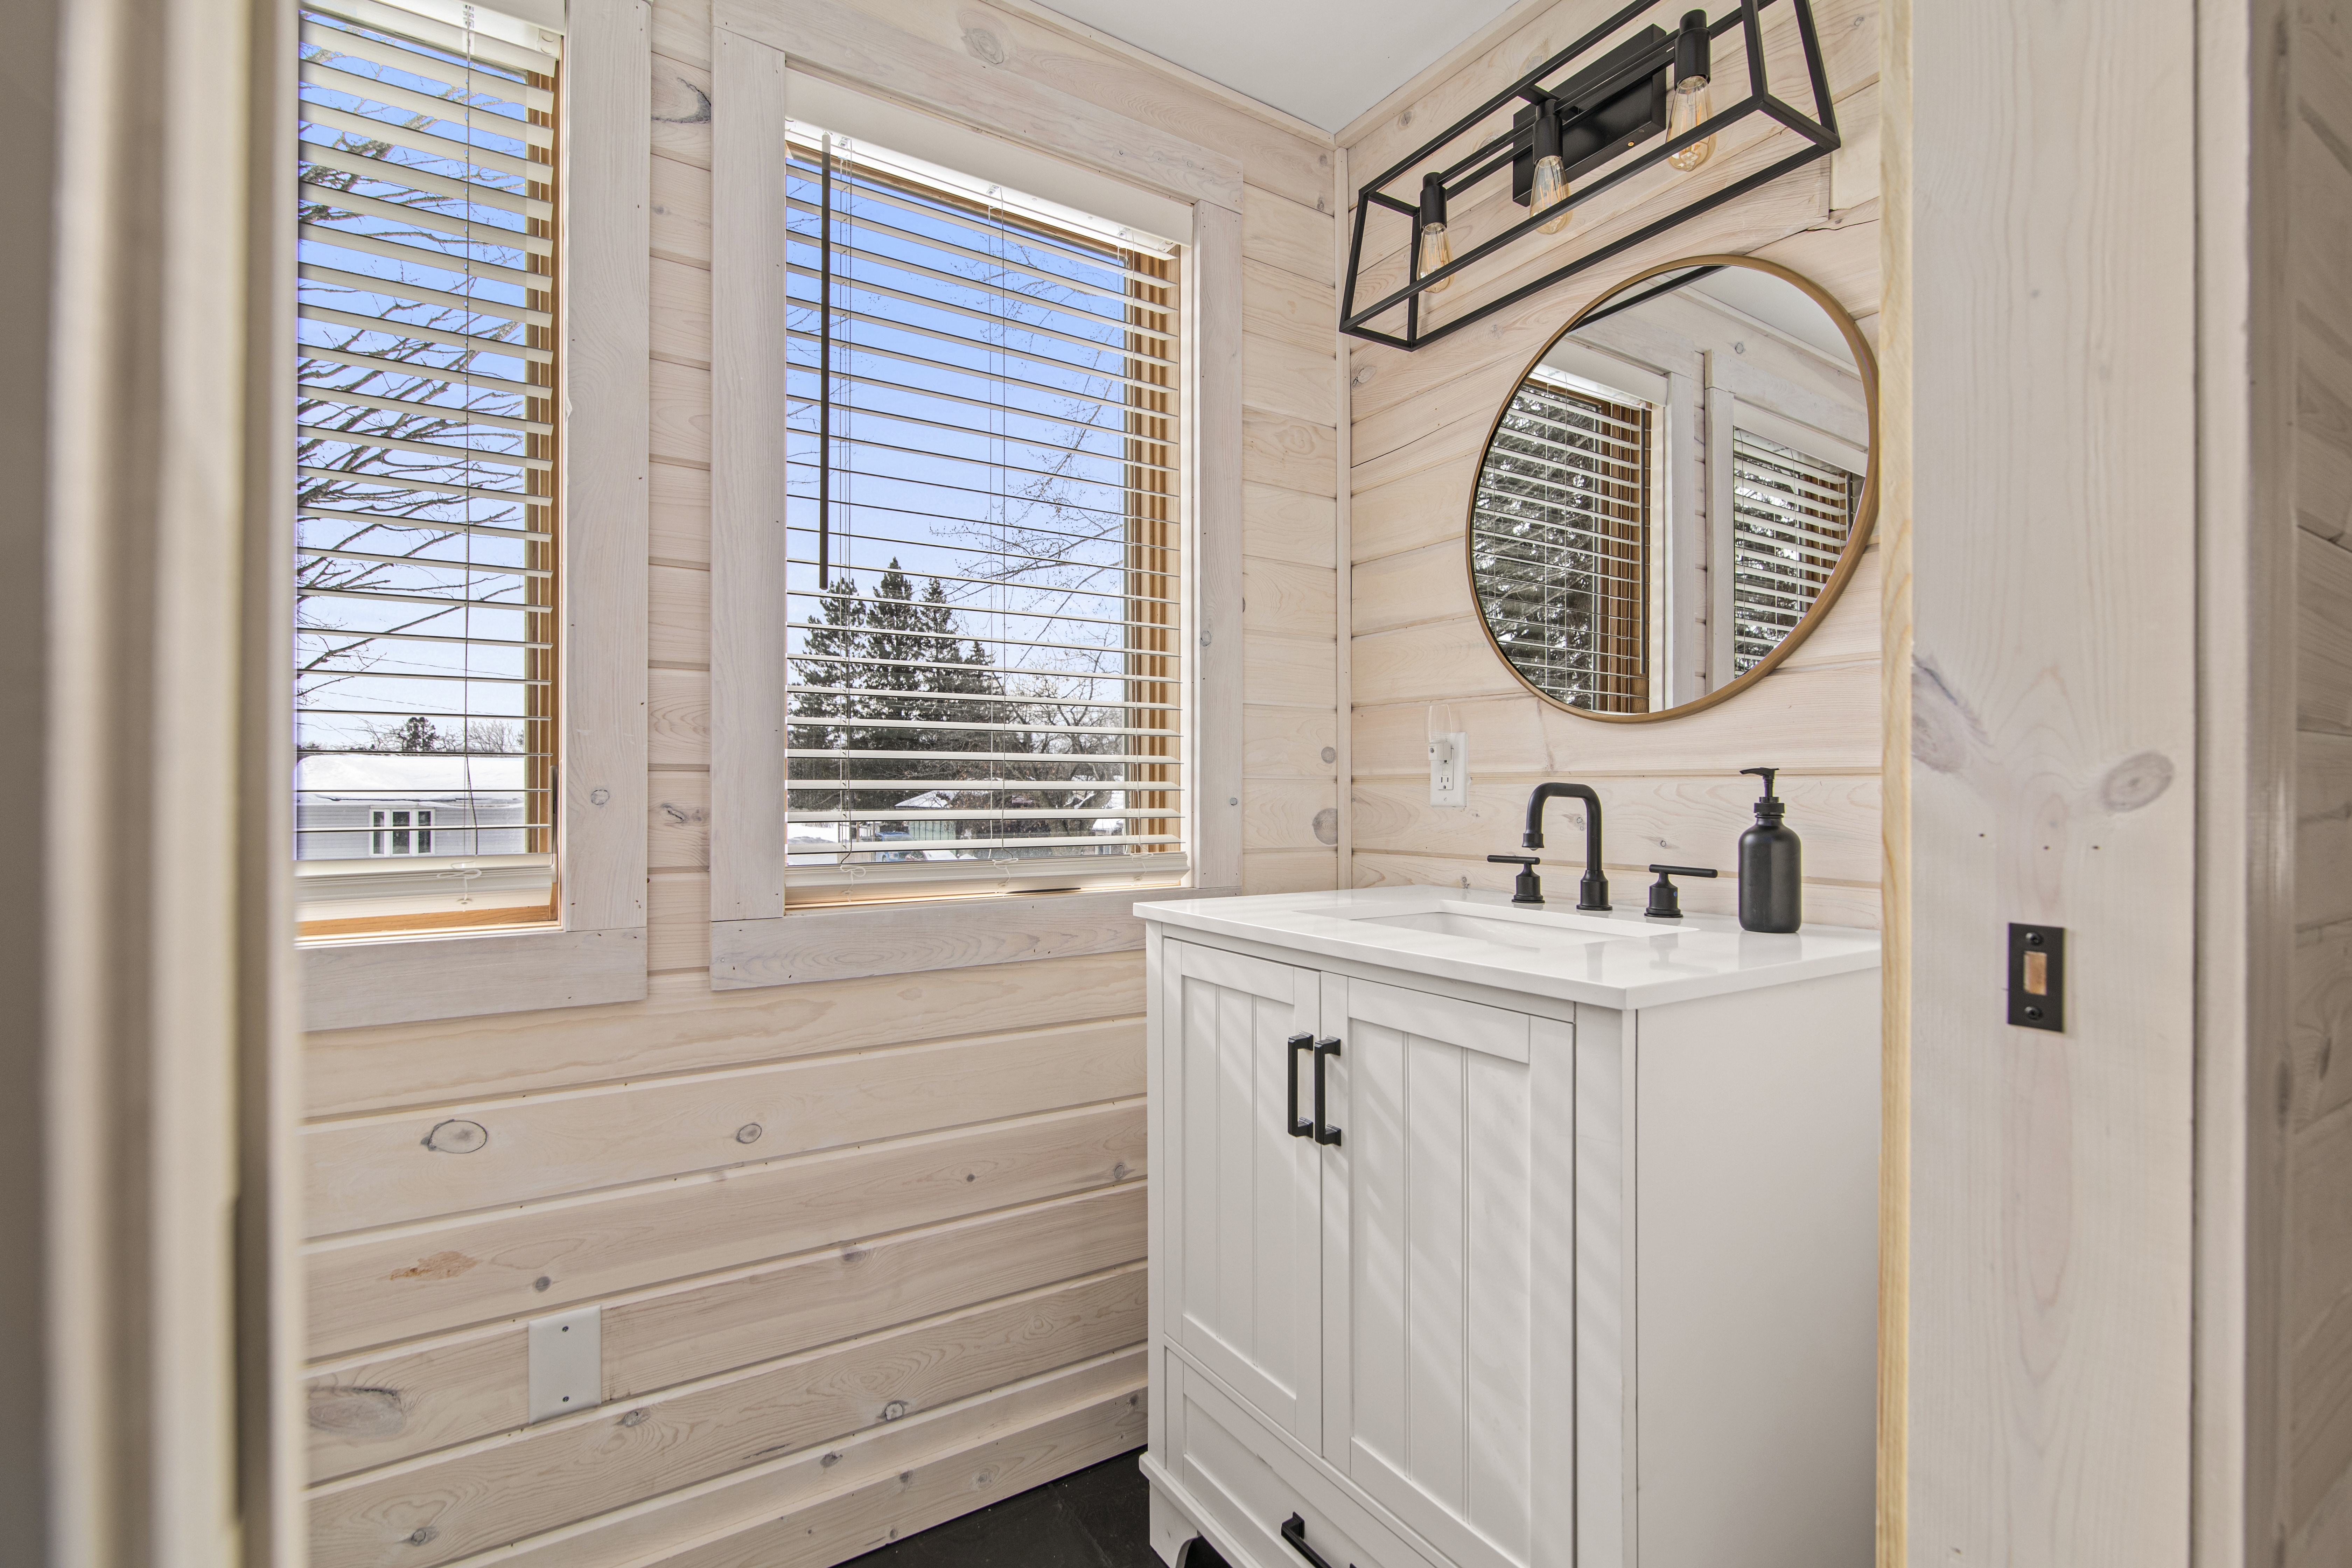
We love the end result of whitewashing tongue and groove pine in the bathroom of our short-term rental! It’s bright, has a ton of character and fits in perfectly with the wooded setting in Crosby, Minnesota.
Items needed:
- Tongue & groove pine
- White interior paint
- Water
- Bucket to mix paint & water
- Cotton rags
- Paint tray
- Paint roller
- Water-based polyurethane
- Sawhorses
Step one:
Set the pine boards on two sawhorses. Jake ordered a ton of pine from a lumber yard. It arrived in bundles. It was a beautiful day so we were able to paint the boards outside (not as much moving everything around and less mess inside). I found painting three to four boards at a time worked best. When I tried to do any more than that, they dried too fast and I wasn’t able to wipe the paint/water mixture off. We also created an accent wall using the same technique with black paint. Check out my post below to see how we set up the boards for painting.
Step two:
Mix your whitewash. We did a mix of 50/50 water and paint. We used a semi-gloss pure white paint from Home Depot. We discovered it didn’t need to be a perfect, measured out mix. A general 50/50 mixture worked just fine.
Step three:
Apply the mix on the pine. I moved between using a paint sprayer and a roller. Both work fine but, ultimately, I liked the roller better. I rolled the paint/water mix on the pine, waited about a minute, then wiped it off using a cotton rag.
Step four:
When wiping the whitewash mix off the pine, make sure to use a cotton rag. I tried using cheesecloth and the strings kept getting snagged on the pine. It was quite the annoyance. We picked up a pack of rags similar to this option at Ace Hardware.
Step five:
This is the east part. Wait! Let the boards dry and enjoy the finished product (before you have to start the next step of installing the boards).
Step six:
Install the boards. I’ll create a separate blog post on that process.
Step seven:
Once the boards are installed, apply a water-based polyurethane in satin. This gives the boards a finished look and will protect the wood for years to come. Jake sprayed on the poly but it can be brushed on as well.
Step eight:
Take a look at your work! It’s a gorgeous addition to any home, adding character and charm.